AI Image Generator
Generate product and scene images from a prompt.
 Anyscene AI
Upscale any image up to 4× with AI. Sharper detail, cleaner edges, print-ready resolution in seconds.
Drop an image here, or click to upload
PNG · JPG · WEBP · HEIC — up to 10 MB, max 2048 px per side
Try an example
This is a 100% crop — the same region at real pixel size. Left is plain enlargement; right is the AI result. Drag to compare.


Every use has a minimum pixel count. Below it, the image is out — no matter how good it looks on your phone.
An A4 print at 300 DPI needs roughly 3500 × 2500 pixels. A 1-megapixel image simply does not have them, and no printer setting can invent what the file lacks. An image upscaler is how a screen-sized photo earns a place on paper.
Amazon only enables hover-zoom when the longest side passes 1600 pixels, and zoom is where buyers inspect stitching and materials. An image upscaler takes a listing photo from "visible" to "inspectable".
Every recrop throws pixels away. Upscaling first gives you the headroom to reframe a shot for a banner, a square tile and a story format without the last crop landing below the platform minimum.
A hero image that looked fine on a laptop turns soft on a 4K display or a conference screen. Doubling the resolution is cheaper than reshooting, and nobody in the audience can tell the difference.
The product shots from 2018, the logo export someone lost the source for, the photo that only exists as a web thumbnail. An image upscaler is often the only way to make legacy assets usable at today's sizes.
Display networks and social ad formats reject creatives below their minimum dimensions. A single upscaling pass is frequently the difference between an asset you can launch today and a reshoot you have to schedule.
Ten years ago "make it bigger" meant "make it blurrier." Super-resolution models changed the trade.
An AI image upscaler increases a photo's resolution by predicting the detail a larger version would contain — instead of stretching the existing pixels the way traditional resizing does.
Bicubic resizing averages neighbouring pixels, which is why a right-click enlargement always looks soft — the same information is spread over more area. A super-resolution model adds plausible detail learned from millions of real photographs — the prediction step that makes an image upscaler different in kind, not just in degree.
Scale works on both axes: 4× turns 1000 × 1000 into 4000 × 4000, which is sixteen times the pixel count. That is why upscaled files get large, and why the input has a ceiling.
Some upscalers run a diffusion model that invents detail from a prompt — striking for wallpapers, dangerous for product photos, because labels and textures get rewritten. This image upscaler is the faithful kind: it sharpens what is there.
During training it saw millions of image pairs — a sharp original and a downscaled copy — and learned how real textures degrade. At run time it applies that mapping in reverse: fabric weave, wood grain and skin get restored the way they plausibly were.
Restoration is prediction, not recovery. Detail that is truly gone stays gone, and some content — small text especially — behaves in ways worth knowing before you spend a credit. The limits section below is specific about it.
The image upscaler has nothing to configure and nothing to learn. Upload, check the numbers, download.
Drag an image into the upload area or click to browse. The image upscaler reads the dimensions on the spot and shows you exactly what the output will be — 900 × 600 becomes 3600 × 2400 before you commit anything.
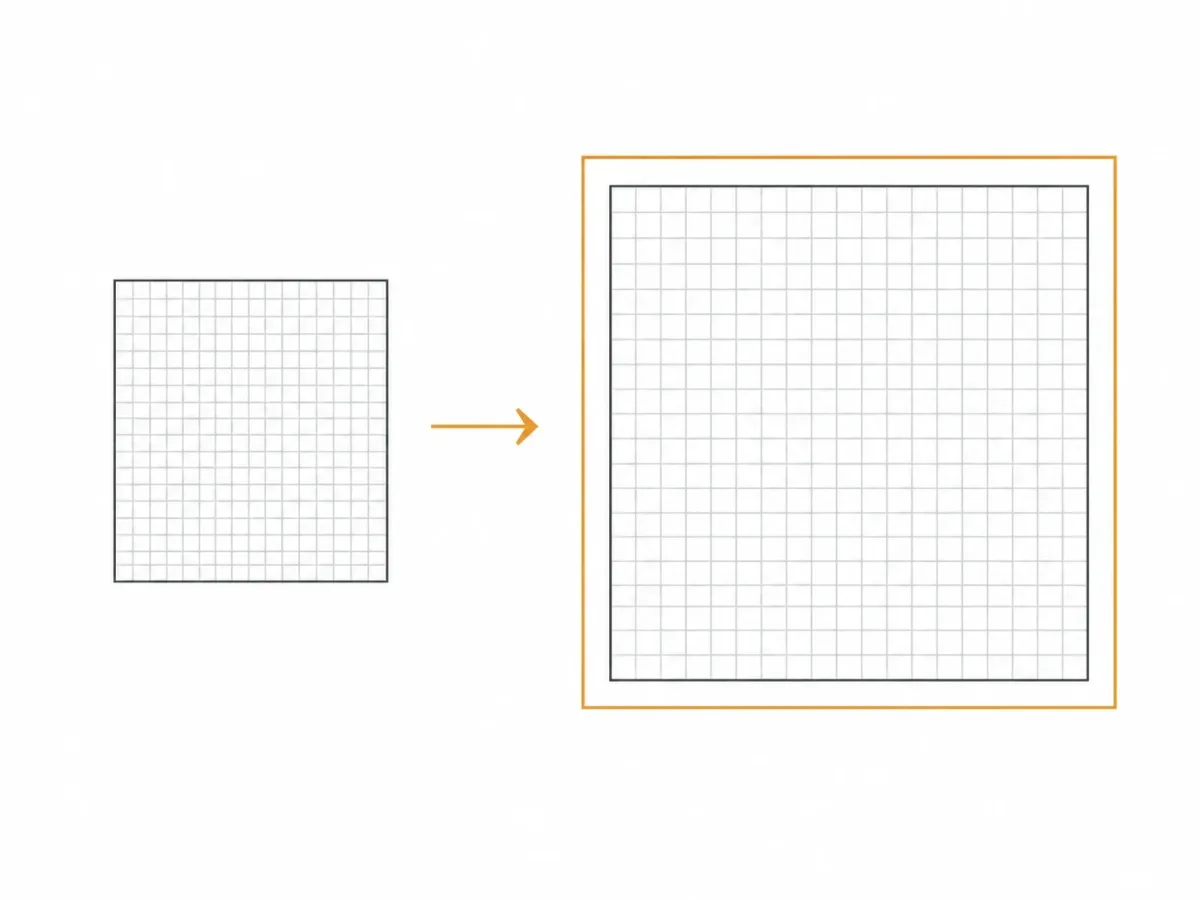
There is nothing to configure: every image is upscaled up to 4×, with the output capped at 4096 pixels on the longest side. The readout under the preview shows the exact output dimensions before you spend anything.
The result shows its new dimensions and file size before you download. Or skip the download entirely and send the image on — into a listing set, a product video, or the background remover.
The practical details, none of which you need to decide up front.
JPG, PNG, WEBP and HEIC, up to 10 MB per file. HEIC support means most iPhone photos work without converting them first.
Up to 4×, automatically. Smaller images get the full 4× — 800 pixels becomes 3200. Larger images are taken to the 4096-pixel output cap instead, so a 2000-pixel photo comes back doubled. The readout shows the exact numbers before you commit.
The image upscaler accepts up to 2048 pixels on the longest side. Past that, the 4096-pixel output cap would leave too little room to matter — an image that size is already high-resolution by most definitions and may not need upscaling at all.
The result is a lossless WebP, typically 1–11 MB depending on the input. The result panel shows the exact size before you download, so nothing is a surprise.
Send the upscaled file into layout and proofing rather than enlarging inside the design tool. Print software scales by interpolation — the thing you just paid two credits to avoid.
Two credits per image, flat — the same as one standard image generation, whatever the input size. New accounts start with 40 credits that do not expire, which is twenty upscales before you decide whether to buy more.
One operation, six places it changes what's possible.
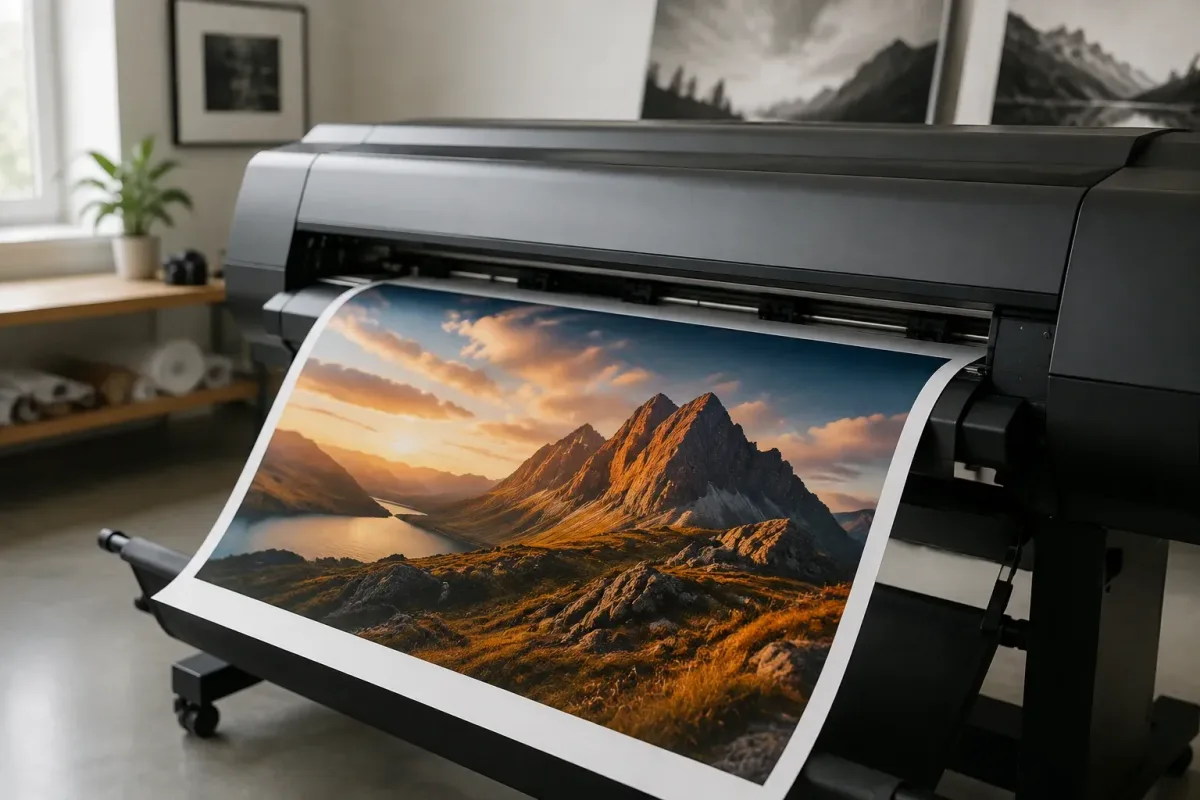
Posters, packaging dielines and lookbooks all start at 300 DPI. Run the master file through the image upscaler once and every print deliverable downstream inherits the resolution.
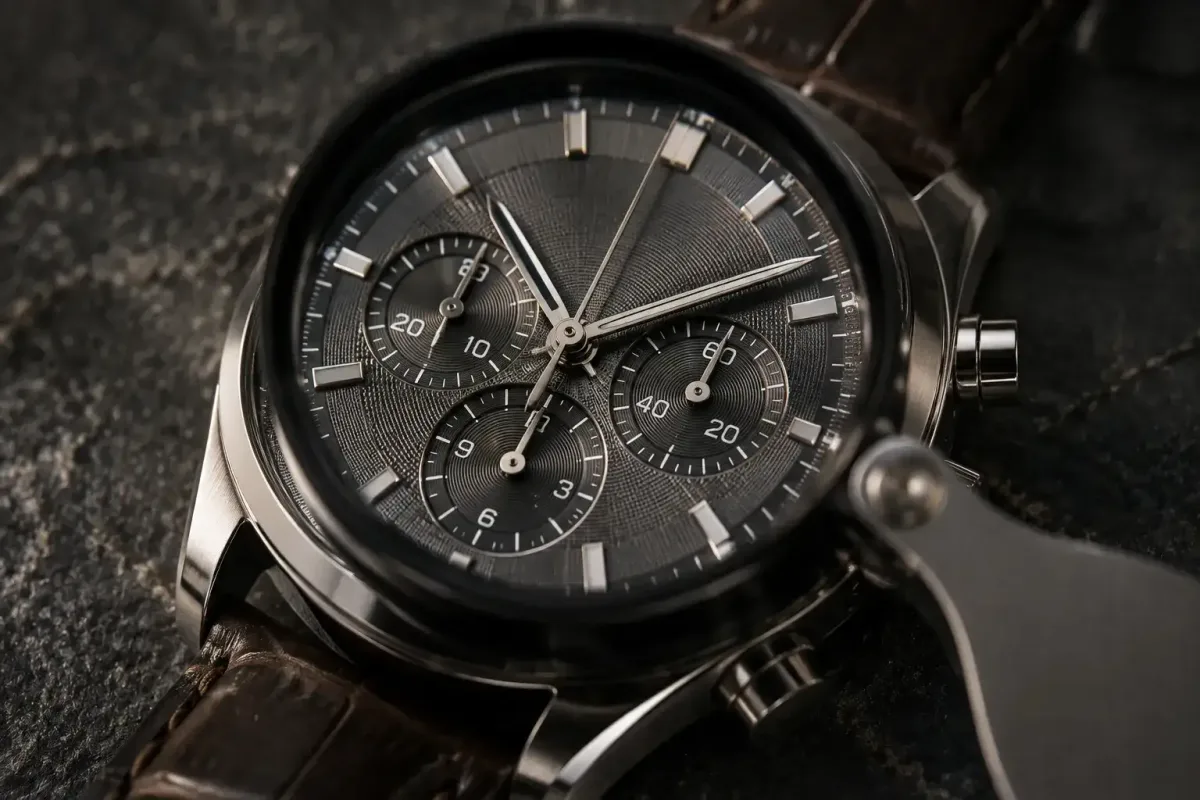
Push a listing photo past the 1600-pixel zoom threshold and buyers can inspect texture and build quality — the moment that converts consideration into a purchase.
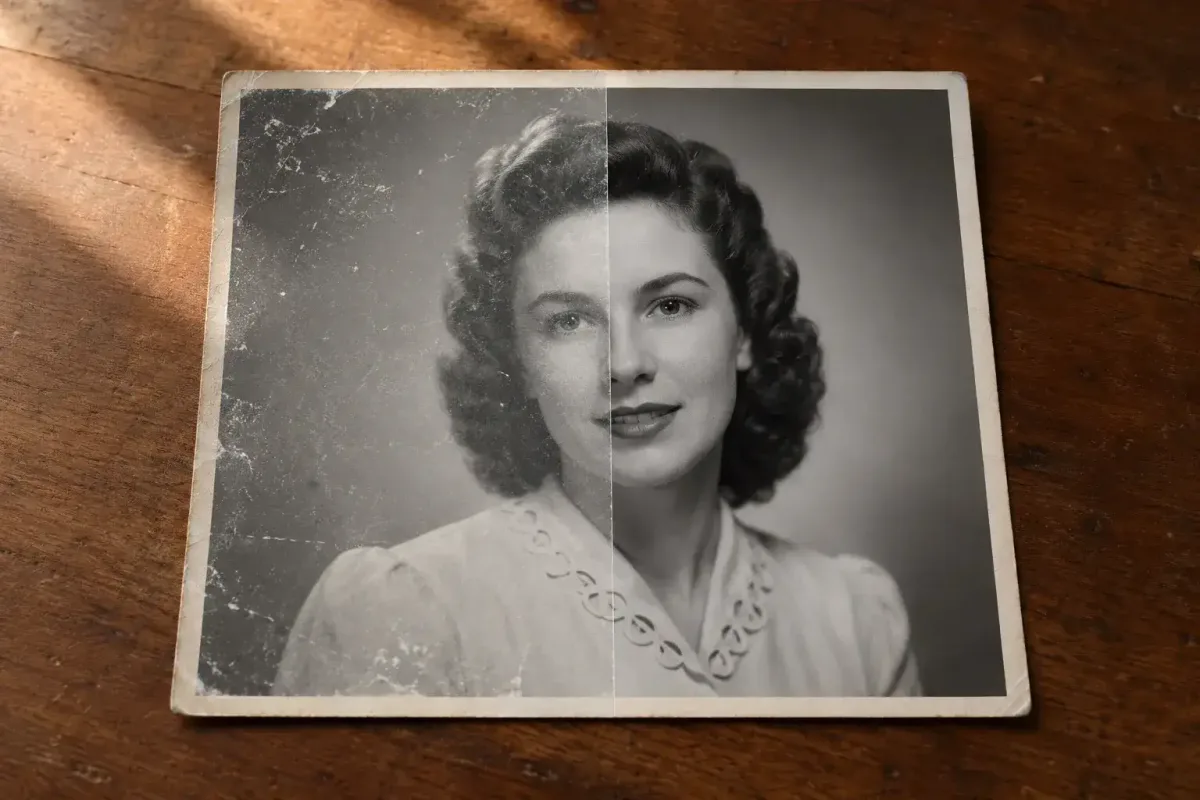
Web-sized photos from an old catalogue, a team photo saved at forum resolution, a screenshot that became the only copy. In our testing, the image upscaler brought a heavily compressed 320-pixel photo back with clean edges and believable texture.
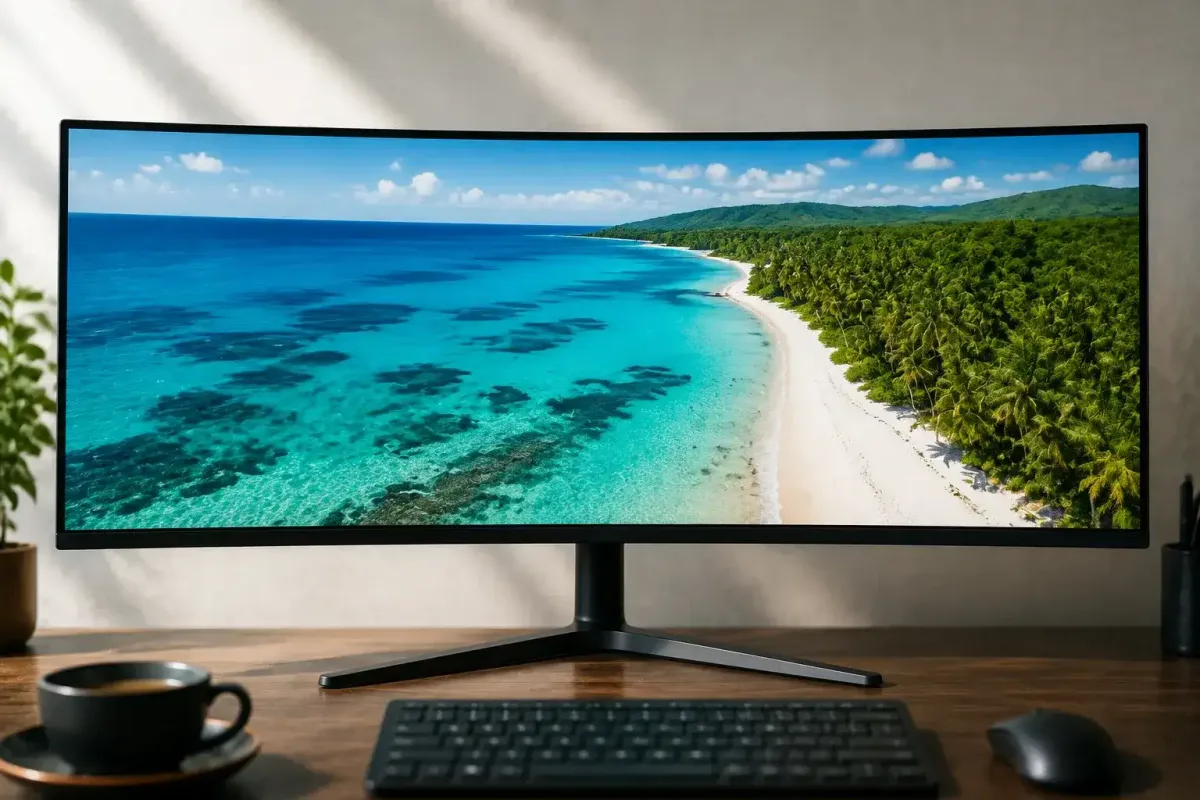
Social headers and site heroes display wide and crop hard. Upscaling gives one source file enough pixels to survive every placement without going soft.
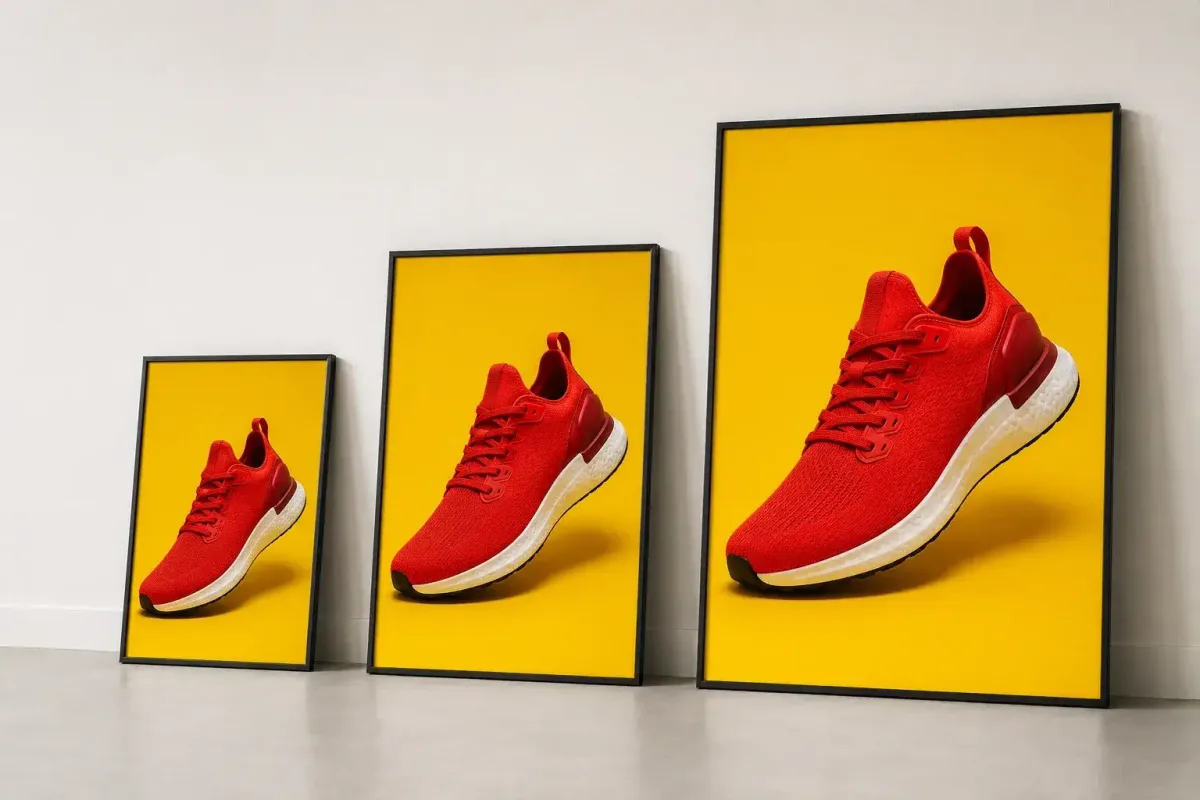
When a display network rejects a creative for minimum size, one pass through the image upscaler is usually all it takes — same asset, launched today instead of after a reshoot.
Generated images typically arrive around one megapixel — perfect for screens, thin for anything else. Every image from our twelve generation models fits this image upscaler's input limit with room to spare, by design.
Every tool in this category claims magic. Here is what our own testing actually shows.
Product outlines, laces, stitching, fabric weave and wood grain all came back crisp in testing — the exact detail marketplace zoom exists to show. This is the case the model was built for.
The most surprising result in our tests: a 320-pixel, heavily compressed photo returned with clean edges and believable fur texture. If an image only exists as a thumbnail, it is worth two credits to see what the image upscaler sends back.
Portraits gain real sharpness — eyes and brows especially — but skin can come back slightly smoothed, a subtly airbrushed look. For most uses it reads as polish; for documentary fidelity, judge the result yourself.
Large lettering comes back sharper. But text near the edge of legibility does not blur — it gets redrawn into letter-like shapes that say nothing. We tested two different image upscalers and both did it; it is a property of the category.
If the fine print on a label matters, do not rely on any upscaler to carry it. Keep the text region large in the source, or rebuild the label at the target size — the sharpened logo will be fine; the ingredients line will not.
Upscaling predicts plausible detail; it does not retrieve real detail that was never captured. A face too small to recognise stays unrecognisable, and heavy motion blur stays blurred — re-shooting or regenerating is the honest fix.
Most upscalers are a dead end: upload, download, leave. This one is a step in a chain.
Generate a product scene with any of the seventeen image models, then send it to the image upscaler without re-uploading anything. Generated images sit around one megapixel — inside the input limit by design.
An upscaled hero can seed the listing builder's 27 image roles — dimensions, comparison, benefits grid and the rest — so the extra resolution carries through the whole set.
Amazon, Shopify, Etsy, Walmart, eBay, TikTok Shop, Temu, Shein and a universal preset each carry their own aspect ratios. More source pixels means every per-platform crop stays above the quality bar.
A sharp still is a better first frame. Sixteen image to video models can animate the upscaled image into a short product clip for the formats that reward motion.
The credits that run this image upscaler are the same credits that run generation, background removal, the listing builder and video. No separate plan, no second subscription, no balance that expires in a silo.
Every upscale lands in your history alongside everything else you have made, so the upscaled master is still there next month when the print deadline actually arrives.
Photoshop can upscale. So can a right-click. Worth being precise about what each is actually good at.
Super Resolution and Preserve Details 2.0 do real work — behind a subscription, a learning curve and a one-image-at-a-time workflow. If you live in Photoshop already, use it. If you need one sharp file without the suite, that is what this page is for.
Right-click enlargement — in Canva, in a viewer, anywhere — is interpolation: the same pixels stretched over more area. It cannot add detail by definition, which is why every plainly enlarged image has the same soft, smeared look.
A retoucher with time will beat any automatic tool on one difficult image — the ceiling is higher by hand. The floor is what changes: an image upscaler returns a consistent, usable result on the ninetieth file as reliably as the first, and no human does that.
Every plan unlocks all 28 models and every tool on Anyscene, this one included. Yearly billing saves 20%, and a credit pack tops up any plan.
Yearly prices, shown per month. Monthly billing and credit packs are on the pricing page.
The questions worth answering before you spend two credits.
Yes. Processing runs on our servers and consumes credits, so you need to be signed in. New accounts start with 40 credits that do not expire — enough for twenty upscales before you decide whether to buy more.
Two credits per image, flat — the same as one standard image generation. The price does not change with the input size, so there is never a reason to shrink an image before upscaling it.
Not in the resolution sense. ChatGPT can regenerate a similar-looking image at a larger size, but regeneration changes the content — faces, products and layouts shift. A super-resolution upscaler raises the pixel count of your actual image, which is a different operation.
Upload it here and download the result — no software, no subscription, no technique. Tools like Canva resize by interpolation, which enlarges but does not sharpen; a super-resolution model does both.
2048 pixels on the longest side. The limit follows from the output: results are capped at 4096 pixels, so a larger input would gain too little to be worth two credits. An image already above 2048 pixels is high-resolution by most definitions and may not need upscaling.
It is arguably the best pairing. Generated images usually arrive around one megapixel — fine on screen, thin for print or zoom — and they sit comfortably inside the input limit. Generate, run it through the image upscaler, and the same picture is suddenly print-grade.
Large lettering comes back sharper. Small text is the one case to watch: near the edge of legibility it gets redrawn into letter-like shapes rather than blurred — we tested two models and both behave this way. If fine print matters, rebuild it at the target size.
Download it, or send it on without leaving the page — into the background remover, the listing set builder, or video generation. Everything runs on the same credit balance.
Sign in, upload, download. New accounts start with 40 credits that do not expire — that is twenty upscales.